
How to Pack Shoes for a House Move
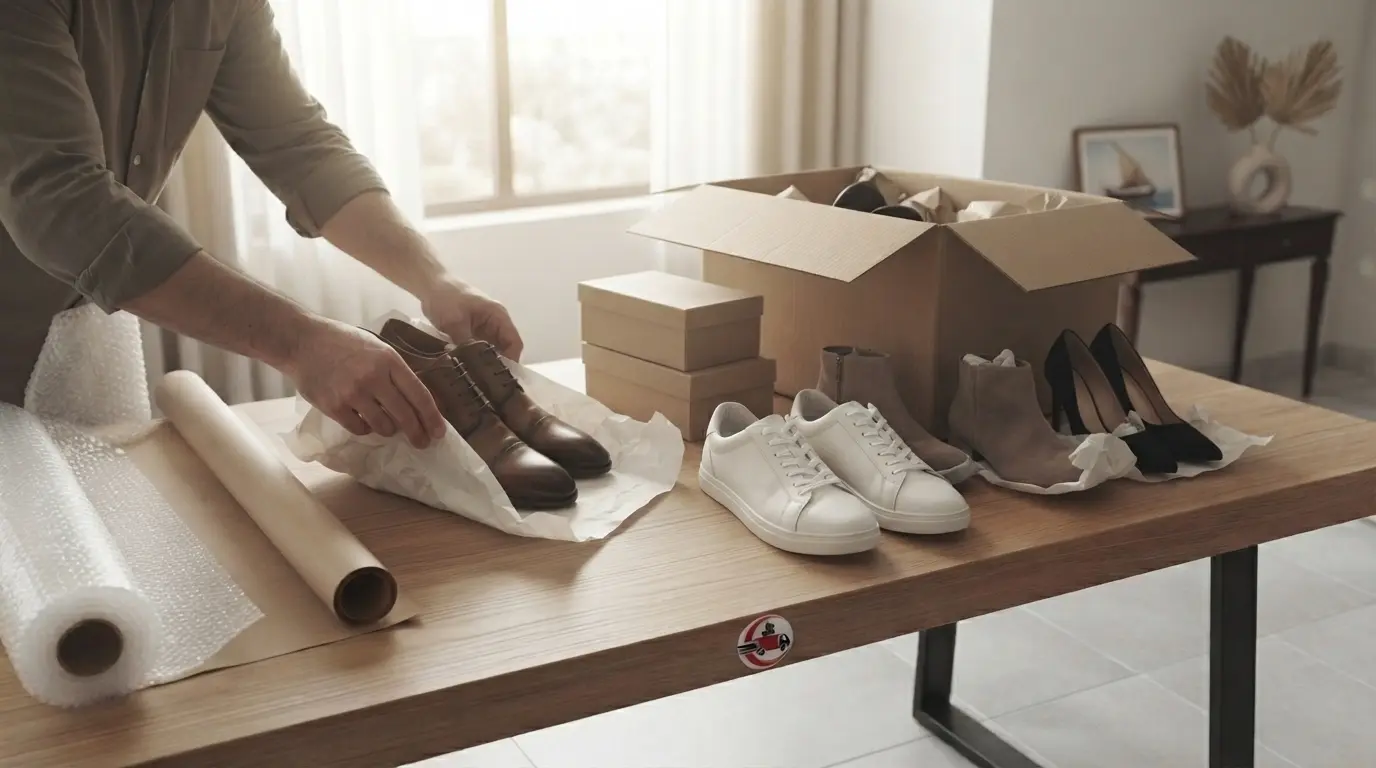
Packing shoes may seem like a small task compared with preparing furniture, kitchenware and clothing, but footwear can take up more space than expected. A family may have everyday sneakers, formal shoes, work footwear, sandals, boots, children's shoes and special-occasion pairs to organize before moving.
If shoes are packed without preparation, dirty soles can mark other footwear, delicate materials can become scratched, and unsupported shoes may lose their shape. Damp footwear can also develop unpleasant odours when sealed away before it has dried properly.
The good news is that packing shoes does not require complicated equipment. With a little sorting, suitable wrapping materials and a clear packing system, you can protect your footwear and make unpacking easier.
This guide explains how to prepare different types of shoes, choose suitable packing materials, save space and keep your most frequently used pairs accessible throughout your move.
Why Should You Pack Shoes Carefully?
Shoes are made from different materials and have different shapes. A pair of sturdy sneakers can usually tolerate more pressure than delicate high heels, structured leather dress shoes or tall boots.
Packing everything together without considering these differences can lead to avoidable problems.
- Scuffs and scratches: Shoes rubbing against one another can damage leather, suede, decorative details and polished surfaces.
- Crushed shapes: Heavy items placed on top can flatten soft footwear or bend delicate heels.
- Dirt transfer: Dust and mud on the soles can stain lighter-coloured shoes.
- Moisture problems: Packing shoes before they are completely dry can encourage unpleasant smells or material damage.
- Lost pairs: Packing shoes separately without a system can make it difficult to find matching pairs after arrival.
A simple packing routine helps address these risks before the boxes are sealed.
Step 1: Sort Your Shoes Before Packing
Start by collecting shoes from bedrooms, wardrobes, entryways, storage areas and shoe racks. Putting them in one place makes it easier to see how many pairs you have and decide which ones need special attention.
Separate your footwear into practical groups:
- Everyday shoes you wear regularly.
- Work shoes and formal footwear.
- Sneakers and sports shoes.
- Sandals and lightweight footwear.
- Boots and larger shoes.
- Children's shoes.
- Delicate, expensive or special-occasion pairs.
Next, decide which pairs you want to keep. Shoes that no longer fit or are no longer needed do not have to take up space in your moving boxes. Wearable pairs in good condition may be suitable for donation, while badly damaged footwear can be dealt with appropriately.
Set aside the shoes you will need during the final days before moving. Keeping these separate prevents you from opening packed boxes to find something you use every day.
Step 2: Clean and Dry Every Pair
Before packing, remove visible dirt, dust and mud from your shoes. Cleaning them first helps prevent grime from transferring to other footwear or the inside of a box.
Choose a cleaning method suitable for the shoe's material. Fabric sneakers, leather dress shoes and suede footwear may require different care, so avoid using the same product or method on every pair.
Pay particular attention to the soles, where grit and mud can collect. Allow shoes to dry completely before wrapping them. Do not seal damp footwear inside a box or plastic bag.
For leather or suede shoes, follow the manufacturer's care guidance and avoid excessive water. If a pair needs specialist cleaning, consider arranging it before packing day rather than experimenting with unfamiliar cleaning products.
Once the shoes are clean and dry, group matching pairs together so nothing gets separated during packing.
Step 3: Gather the Right Packing Materials
You can often pack shoes using materials you already have at home. The right combination depends on the quantity of footwear and how delicate the pairs are.
| Packing material | How it helps |
|---|---|
| Original shoe boxes | Provide a fitted container for individual pairs. |
| Small or medium cardboard boxes | Keep footwear organized and manageable to carry. |
| Clean packing paper or tissue paper | Helps maintain shape and separates surfaces. |
| Fabric shoe bags | Keep pairs together and reduce rubbing. |
| Bubble wrap | Adds cushioning for selected delicate or decorative footwear. |
| Packing tape | Secures the outer moving box. |
| Labels and a marker | Make the contents easier to identify after arrival. |
Avoid making a box so heavy that it becomes difficult to lift safely. A few manageable boxes are often easier to carry and organize than one oversized box filled with footwear.
For delicate materials, use clean, suitable wrapping that will not transfer colour or leave marks. If you are unsure whether a material is compatible with a particular shoe finish, choose a clean, non-abrasive protective layer. If you need professional packing support for more than footwear, you can explore our packing service.
Step 4: Stuff Shoes to Help Maintain Their Shape
Some footwear can become flattened or creased if it is packed loosely beneath other items. Gentle stuffing helps support the shoe during transportation.
Use clean packing paper or suitable tissue paper to fill the toe area. For boots, additional paper can help support the shaft so it does not fold over unnecessarily.
Do not overstuff shoes. The goal is to support their existing shape, not stretch the material. Avoid using dirty paper or printed material that could transfer ink onto light-coloured or delicate surfaces.
For structured footwear that came with shoe trees, follow the manufacturer's care advice when deciding whether to use them for the move. Keep removable accessories together with the correct pair.